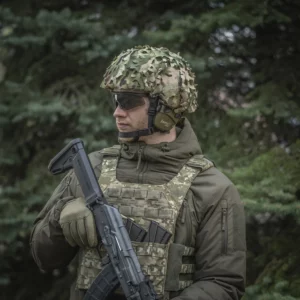
MOLLE (pronounced “Molly”), an acronym for Modular Lightweight Load-Carrying Equipment, is the backbone of today’s tactical and military load‑bearing systems. You will find its familiar webbing grid on backpacks, load‑bearing vests and belts, and other load-carrying equipment, allowing users to securely attach pouches, holsters and accessories wherever they’re needed.
At its core, MOLLE is all about modularity: instead of being locked into a fixed setup, you can tailor your gear to the mission or the trail, swapping components on the go for maximum efficiency and comfort. In this guide, we’ll show you how to use the MOLLE system effectively and share our top tips for getting the most out of your kit!
A Brief History of the MOLLE System
The MOLLE attachment system is a modular, load‑bearing platform first developed by the U.S. military in the 1990s to succeed the older ALICE gear. It didn’t see widespread issue until the early 2000s, when NATO forces – especially in the UK and US – adopted its heavy‑duty PALS (Pouch Attachment Ladder System) webbing for securely mounting compatible items such as pouches and holsters.
Today, MOLLE’s modular grid isn’t just used for military operations – hiking backpacks and airsoft rigs also commonly use the system, showing its widespread popularity for civilian use.
What Are the Benefits of the MOLLE System?
The MOLLE system offers a range of advantages that make it a useful feature for both military and civilian users:
- Full Modularity: MOLLE provides military & tactical users with the flexibility to build a kit that “matches the mission”, adding or repositioning accessories in seconds.
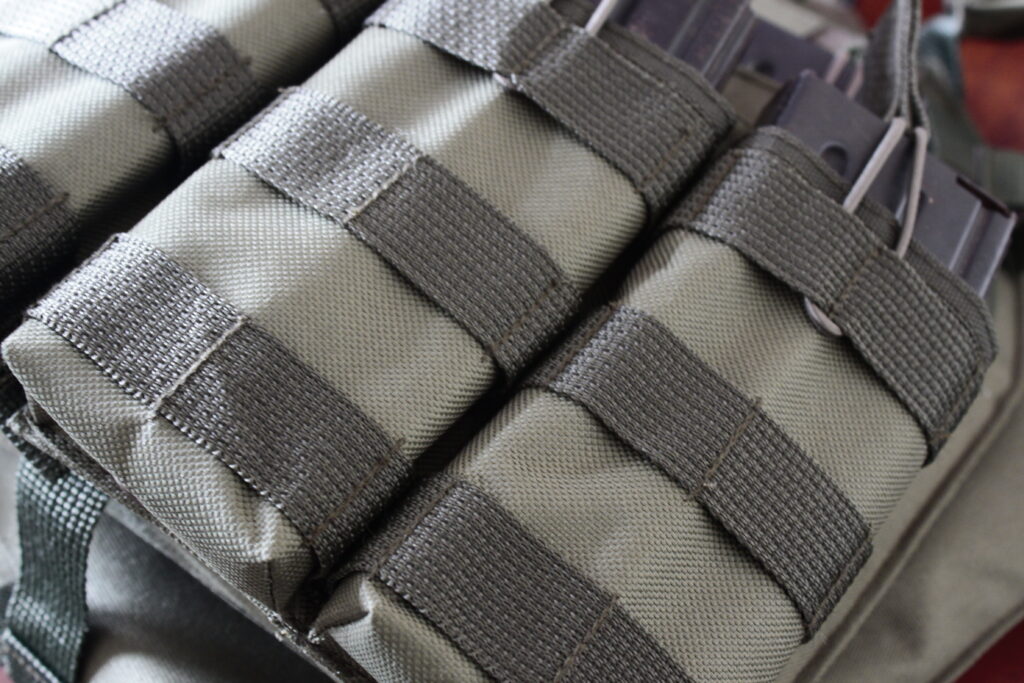
- Standardised Attachment Design: PALS webbing ensures every MOLLE‑compatible pouch or accessory from different manufacturers snaps in securely and works together.
- Scalable Load‑Carrying: Expand or slim down your setup as needed; carry just the essentials for a day hike, or stack on medical kits and hydration bladders for longer trips or patrols.
- Quick Repositioning: For outdoor expeditions and missions, it’s important to be able to add to or reposition your accessories in seconds; MOLLE allows for this with ease.
- Durable Materials: Heavy‑duty nylon webbing and reinforced stitching can handle abrasion, rough handling, and extreme weather conditions.
- Balanced Weight Distribution: Position gear where it best offsets your load – on the chest, hips or pack – and adjust placement to improve comfort and reduce fatigue.
What Items Can You Attach Using MOLLE?
Here are some of the most common items that users attach to their MOLLE grid:
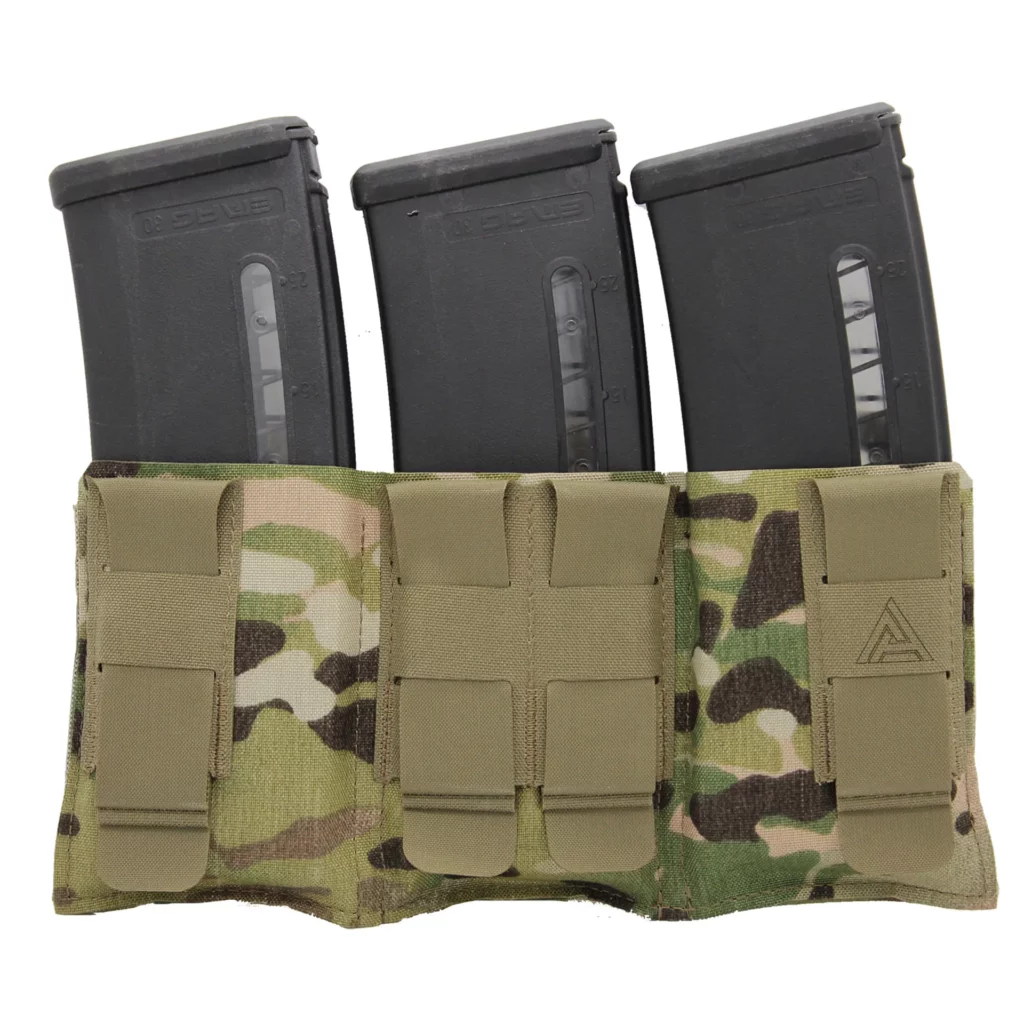
- Ammo or magazine pouches
- Radio or communication pouches
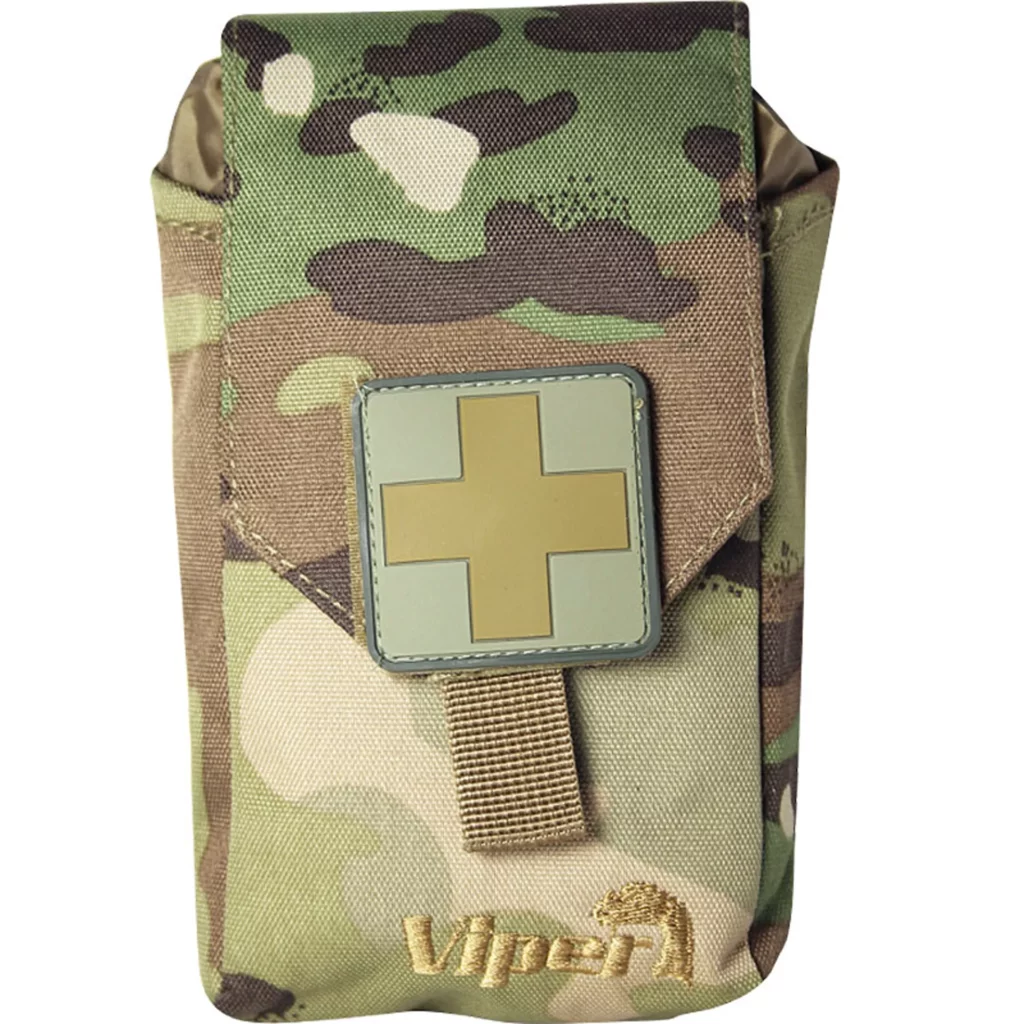
- First aid or medical kits
- Utility pouches
- Hydration bladders
- Torches or illumination gear
- Admin panels
- Pistol or multi-tool holsters
- Knife sheaths
- GPS or smartphone holders
- Sleeping‑bag or roll‑mat straps
- Radio antenna mounts
How to Attach MOLLE Accessories – Initial Setup
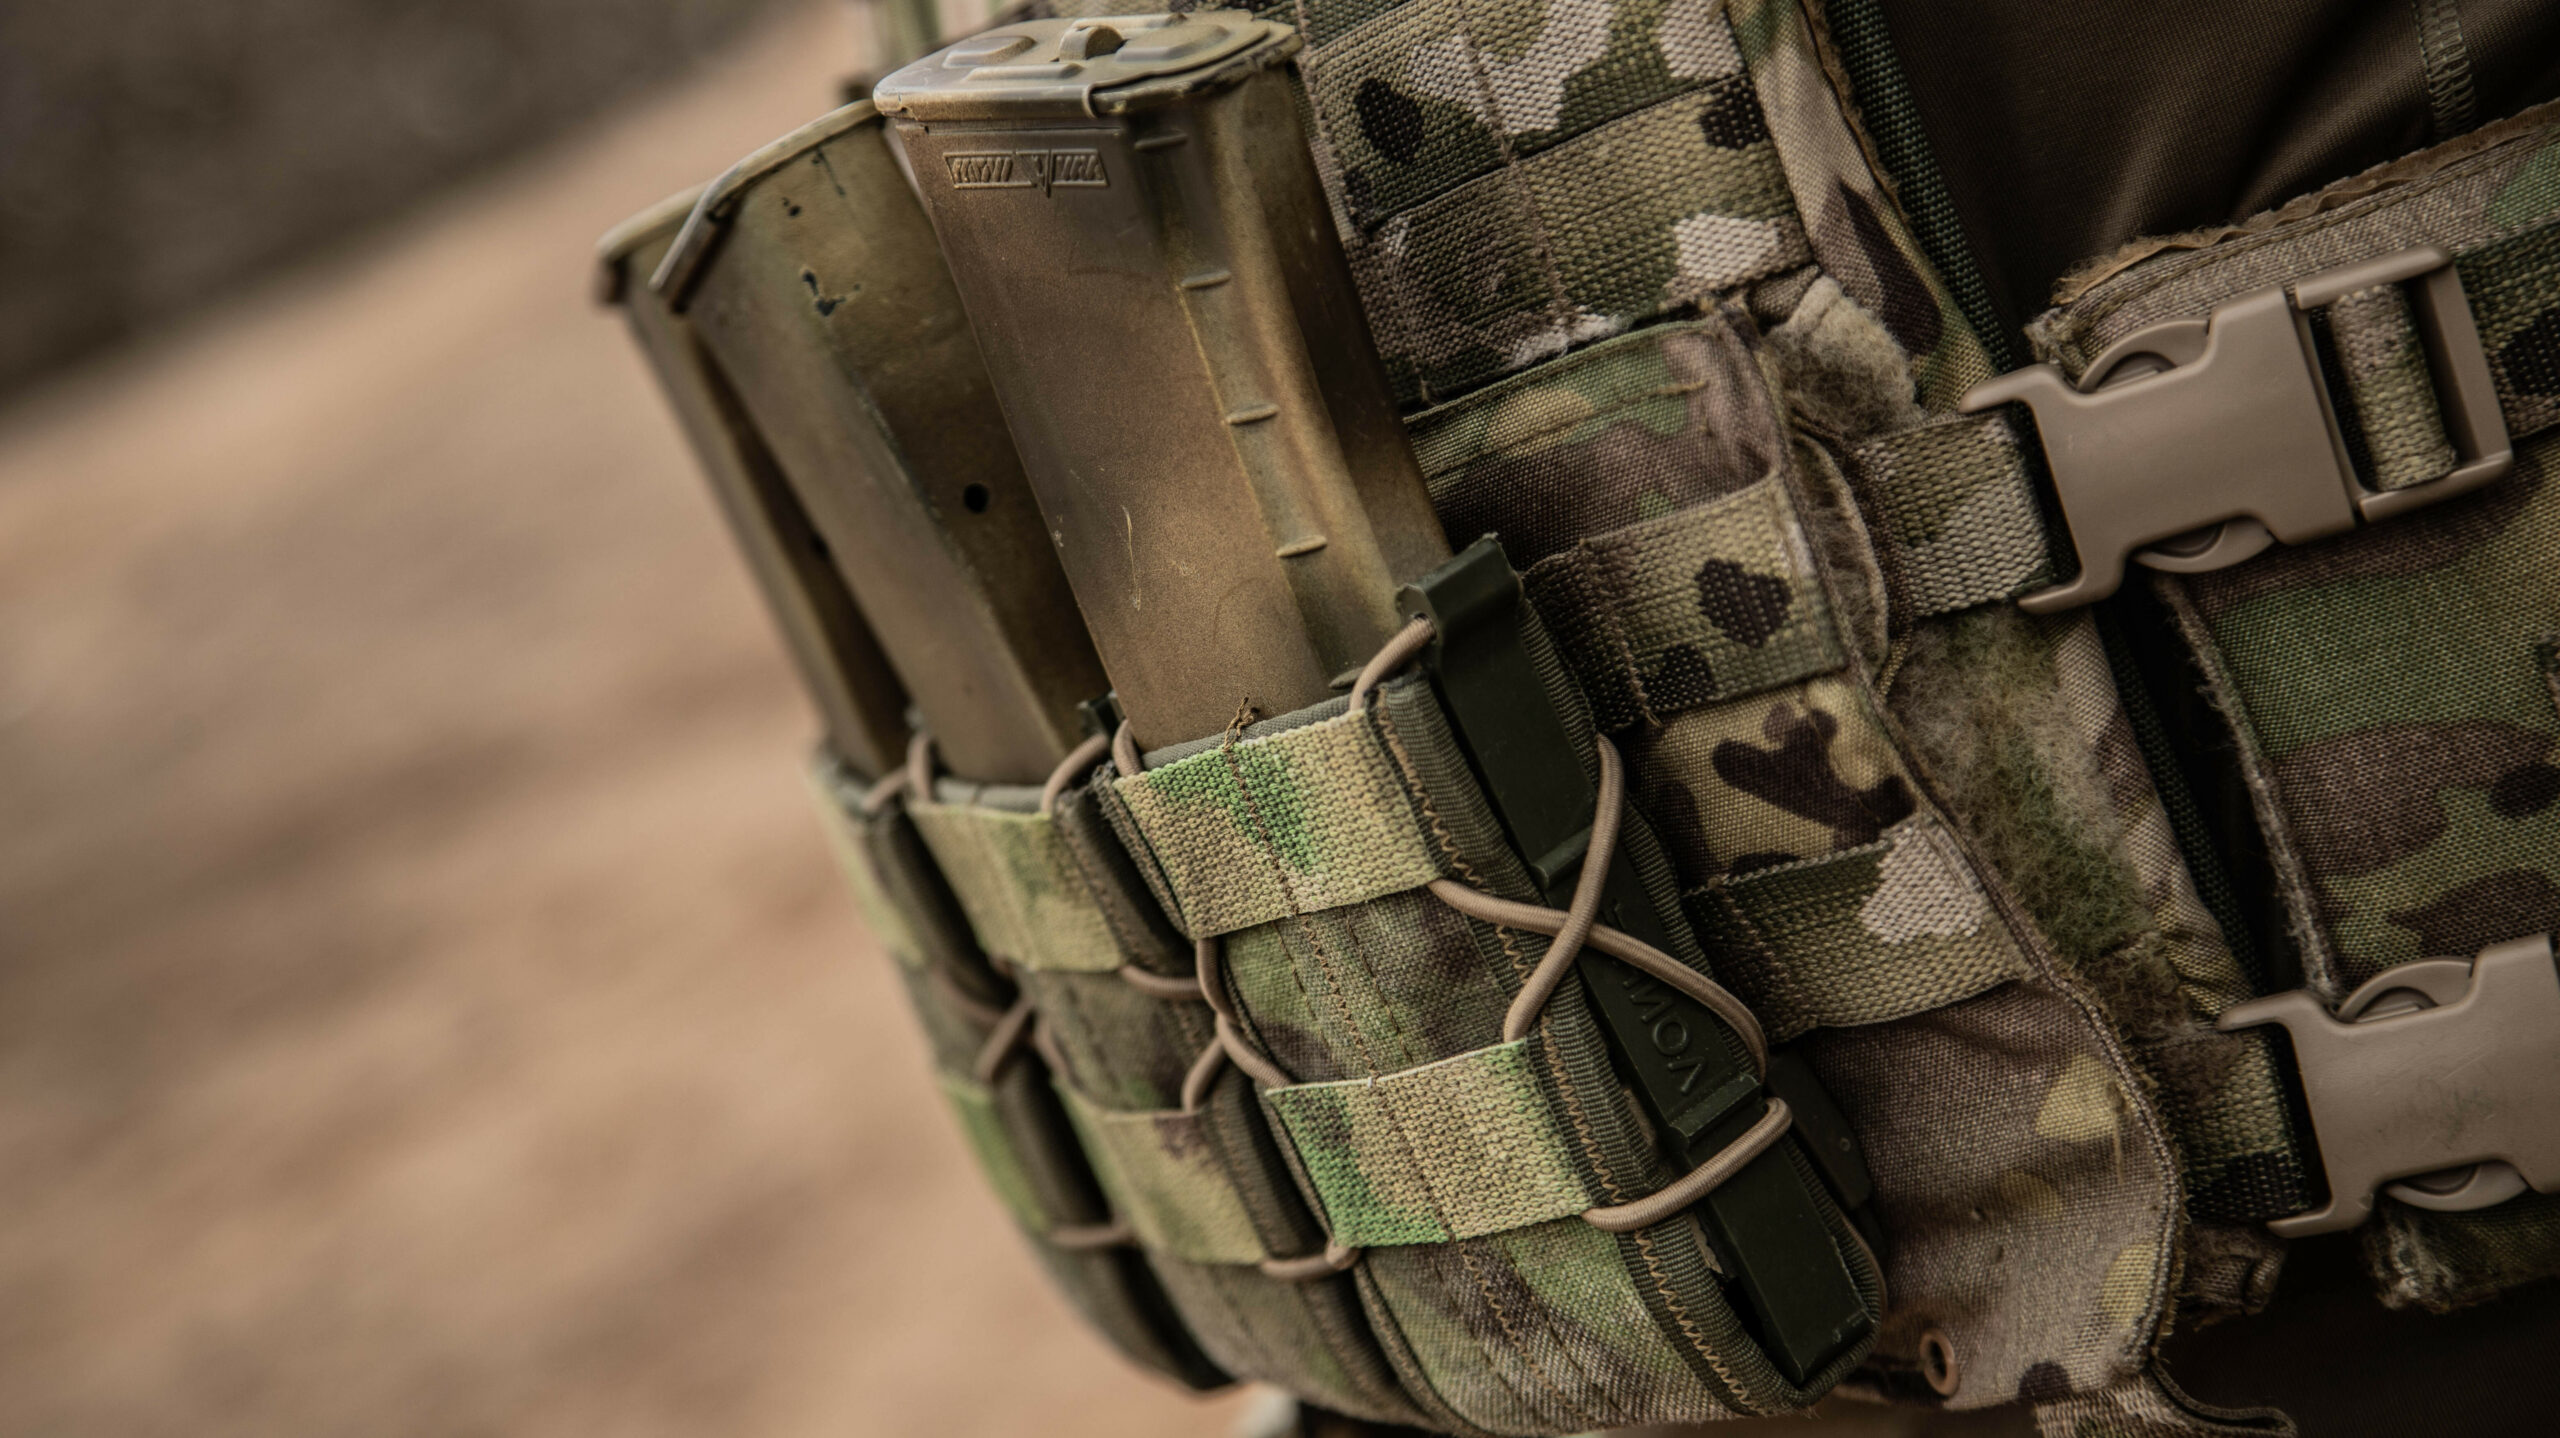
As a recap, MOLLE works by using a grid of heavy-duty nylon webbing (PALS) stitched onto a base platform like a tactical backpack or vest, and matching SlickStick or MOLLE-specific straps on the back of pouches or accessories. To attach gear using MOLLE webbing, here’s what you should do:
- Identify Attachment Points: Locate the rows of PALS webbing on:
- Your base platform (backpack, tac vest, belt).
- The back of your accessory pouch.
- Prepare the Accessory: Unfasten any snaps, buckles or straps on the pouch so that its mounting straps hang free and accessible.
- Feed the First Strap: Take the top end of the MOLLE strap and push it through the bottom row of PALS webbing on your base platform, snap‑side up.
- Weave Through the Pouch: Thread that same strap back through the first row of webbing on the pouch itself, tightening as you go.
- Alternate Over and Under: Continue weaving the strap: over the next PALS strip on the base, under the next strip on the pouch, and so on until you reach the top.
- Repeat for Additional Straps: If your pouch has two (or more) straps, repeat the identical over‑under weave with each one beside the first.
- Lock All Snaps or Buckles: With all straps fully woven, secure any buckles or press‑stud snaps to lock the straps in place. Ensure there’s no slack between the pouch and base, and that the pouch sits straight and level.
Once you’ve set up your system to your liking, you’ll be able to switch gear around easily according to the mission needs.
Top Tips for Optimising Your MOLLE Setup
To help you get the most out of your MOLLE setup, here are some practical tips:
Plan Before You Weave
Lay out all your pouches and gear, and decide where each item needs to live based on frequency of use and accessibility. Sketching a quick diagram or dry‑weaving items first can save you from having to redo things later – this is especially useful if you’re off on a longer task or expedition!
Prioritise Weight Distribution
Keep heavy items (ammo, water, larger tools) close to your centre of gravity – typically low and toward your torso – to reduce fatigue. Lighter or less critical items can go higher or farther out on the pack or vest.
Use Reinforcement & Retention Accessories
Whilst the MOLLE system is a great solution, it sometimes needs a little extra help in some cases to reduce excess movement or reduce unnecessary stresses or wear-and-tear. For example, consider adding zip‑ties, lashing, or load retention straps to secure awkwardly shaped or heavy pouches. Elastic retention bands or shock‑cords can also keep small tools and knives from bouncing free whilst you’re on the move.
Inspect Webbing for Wear
Before and after each outing, run your fingers along the PALS rows to check for fraying, broken stitches or compromised webbing. Replace worn straps or patches of webbing before they fail in the field – you’d much rather discover any potential issues at base camp, rather than in a less forgiving environment!
Maintenance: Care, Clean & Store
- Cleaning: Gently brush off dirt from the webbing. Hand‑wash with mild soap and warm water, then rinse thoroughly. Avoid harsh chemicals that can weaken nylon.
- Drying: After wet use, hang your gear to properly air-dry; never pack it away damp, or mould and long-term fabric damage may occur. Air‑dry in shade to prevent UV damage and material warping. Do not machine‑dry or leave in direct sunlight, as this can damage the webbing’s strength.
- Storage: Store gear unladen, loosely buckled, in a cool, dry place. Avoid compressing webbing under heavy loads for long periods, which can deform the weave and reduce attachment reliability.
Common Mistakes and How to Avoid Them
There are a few common mistakes that military & tactical enthusiasts make when using items featuring MOLLE webbing. These include:
Overloading One Section, Causing Sagging or Imbalance
To overcome this issue, you should distribute weight evenly (See our tips above). If you notice a sagging pouch, simply swap it with a lighter one or move part of its contents into a secondary pouch on the opposite side to restore balance.
Weaving Pouches Improperly, Leading to Detachment Under Stress
As a solution to this issue, follow the “over-under” PALS weaving pattern precisely; start at the top, alternate over and under every row, and lock all snaps and buckles. If a pouch still feels loose, re-weave it and add a short length of lashing or an elastic retention band through the bottom strap to eliminate slack. Always give each attachment a firm tug before heading out.
Neglecting Weatherproofing, Leading to Water Ingress
To solve this problem, treat your MOLLE gear with a durable weather repellent spray on both the outer fabric and webbing to repel moisture.
In addition, use waterproof liners, dry bags, or zip-lock pouches inside utility pouches for electronics, first-aid supplies, or paper maps.
Another option, which is especially useful if you’re expecting torrential rain or heavy winds, is to utilise a waterproof backpack cover, as these help prevent lateral incursion of rain.
Neglecting Aftercare
Spending a few minutes correctly looking after your equipment can really help to maximise its lifespan. Therefore, check out our MOLLE maintenance and aftercare tips above.
MOLLE-Compatible Setups for Different Activities
Airsoft & Tactical Hobbyist
- Platform: Lightweight chest rig or combat chest pouch
- Key Pouches: Triple mag pouches, pistol holster, grenade frag pouch
- Accessories: Radio pouch for comms, torch holster for a tactical torch, utility pouch for tools and spares
Search & Rescue (UKSAR)
- Platform: MOLLE‑compatible patrol rucksack, such as the Kombat Trooper Assault Pack 40L
- Key Pouches: First‑aid/trauma kit pouch, hydration bladder sleeve, map‑compass admin panel
- Accessories: Tourniquet holder, multi‑tool sheath, torch pouch with spare batteries
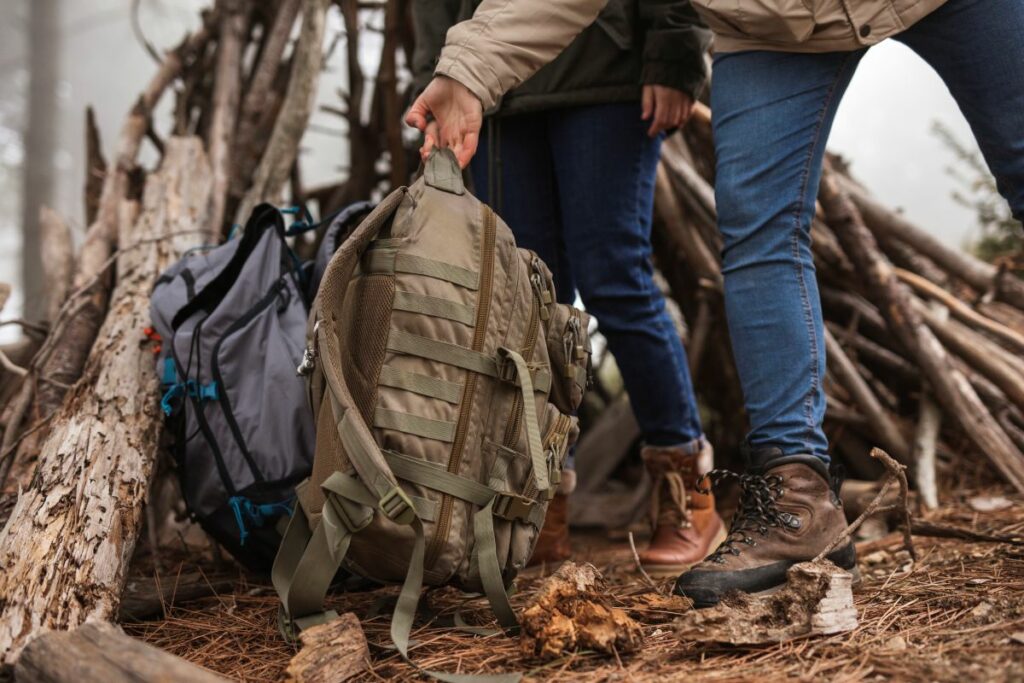
Hiking & Camping
- Platform: a MOLLE-compatible backpack with large storage space, such as the Berghaus MMPS Centurio IV 45L
- Key Pouches: Water bottle sleeve, stove/fuel pouch, snack/utility pouch
- Accessories: Compass/phone dry pouch, knife sheath, lightweight torch holster
UK Law Enforcement Patrol
- Platform: Duty belt with MOLLE belt panels or bail‑out chest rig
- Key Pouches: Handcuff pouch, baton ring, spare mag pouch, Tetra radio pouch
- Accessories: Glove pouch, torch holder, small first‑aid kit
Everyday Carry (EDC)
- Platform: MOLLE EDC bag, such as the Helikon EDC Daypack 21L Cordura.
- Key Pouches: Wallet/phone admin panel, compact torch holder, multi‑tool pouch.
- Accessories: Key‑clip carabiner, pen slot, small first‑aid micro‑pouch.
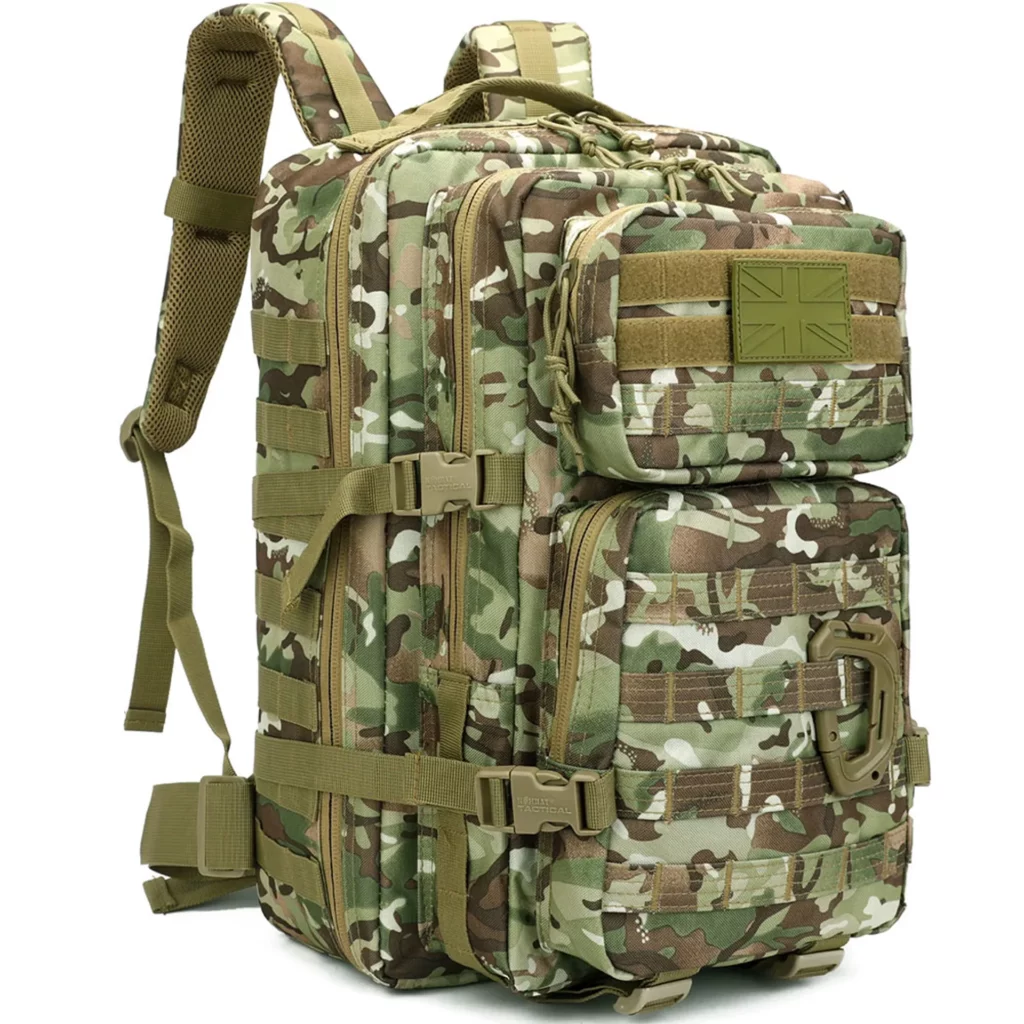
Where Can I Buy MOLLE-Compatible Accessories?
If you’re looking for MOLLE-compatible items ahead of your next mission or adventure, you’re in the right place. At Drop Zone Supplies, we stock a large range of MOLLE-compatible admin pouches, ammo pouches, and utility pouches, as well as webbing sets, belts & harnesses, and rugged tactical rucksacks and backpacks.